We’ve all been there — starting a new programming journey with the classic “Hello, World!” program. For me, that moment recently came in the form of writing my very first Dockerfile.
Over the past two years, I’ve been working as a Cloud Support Engineer within a managed services team, primarily focused on AWS. This role gave me valuable hands-on experience with cloud operations, but I began to realise it was time to deepen my understanding of containerisation. Managed services like ECS and Fargate certainly streamline deployment, but I wanted to peel back the layers and truly understand what’s going on beneath the surface.
The Task: Building a Dockerfile for a Node.js App
The application itself was already built — a simple Node.js app. My task was to take a set of requirements and produce a working Dockerfile, all without touching the source code. Here’s what I needed to achieve:
- Use the official
node:current-alpine3.20image as the base. - Incorporate Tini as the init system to manage process reaping and signal forwarding.
- Define a proper working directory within the container.
- Install dependencies using
npm installand clean up the cache to reduce image size. - Expose the necessary ports and configure the startup command to run through Tini.
- Ensure the app would be accessible via
http://localhost, mapping port 80 on the host to port 3000 inside the container.
Dockerfile
Below is the Dockerfile I created, complete with inline comments explaining each step:
# Use the official Node.js Alpine image as the base image
FROM node:current-alpine3.20

# Expose port 3000, which is where the app will listen for incoming traffic
EXPOSE 3000

# Set the working directory inside the container.
# All following commands (like COPY, RUN) will be executed from here.
WORKDIR /usr/src/app

# Install 'tini' (a tiny init system) to handle the PID 1 process, preventing zombie processes
RUN apk add --no-cache tini

# Copy the package.json file to /usr/src/app/
COPY package.json ./

# Install Node.js dependencies and clean the npm cache to keep the image small
RUN npm install && npm cache clean --force

# Copy the rest of the application files into the container
# (i.e., all files except those ignored by .dockerignore)
COPY . .

# Use Tini to properly handle signals and process cleanup,
# then start the Node.js app
CMD [ "/sbin/tini", "--", "node", "./bin/www" ]
Building and Running the Docker Container
The fun didn’t stop after writing the Dockerfile — now it was time to build the image, run the container, and see the app come to life in the browser.
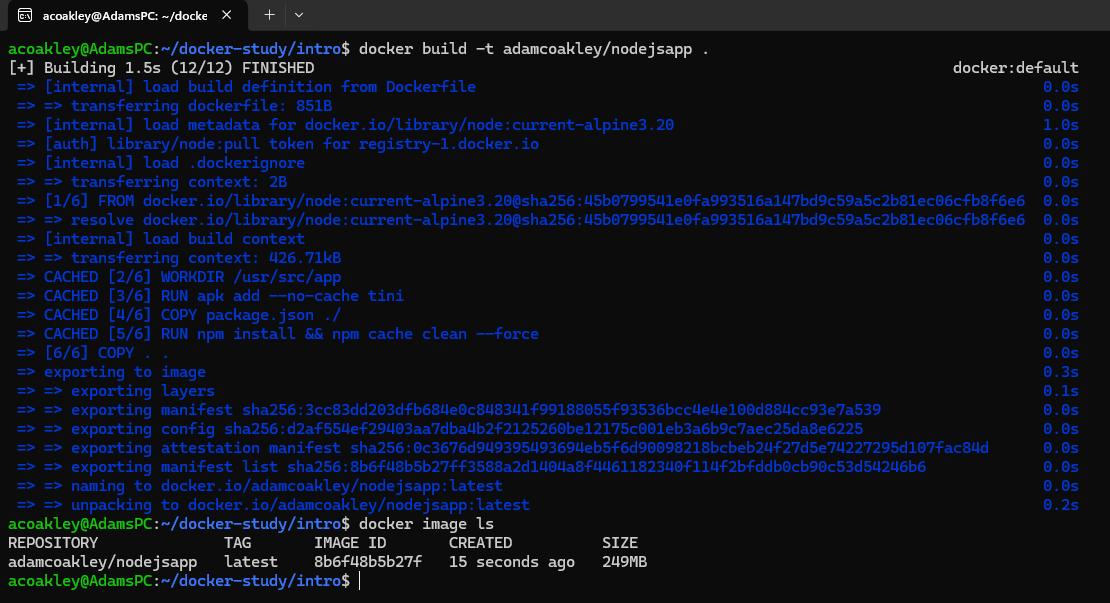
Step 1: Build the Docker image
I used the docker build command to create the image from my Dockerfile. The -t flag lets you tag the image with a name for easier reference later.
Step 2: Run the container
With the image built, I ran a container from it and mapped port 80 on my host to port 3000 in the container, since the app listens on port 3000 internally.

Step 3: Visit the app
With everything up and running, I opened my browser and navigated to: http://localhost
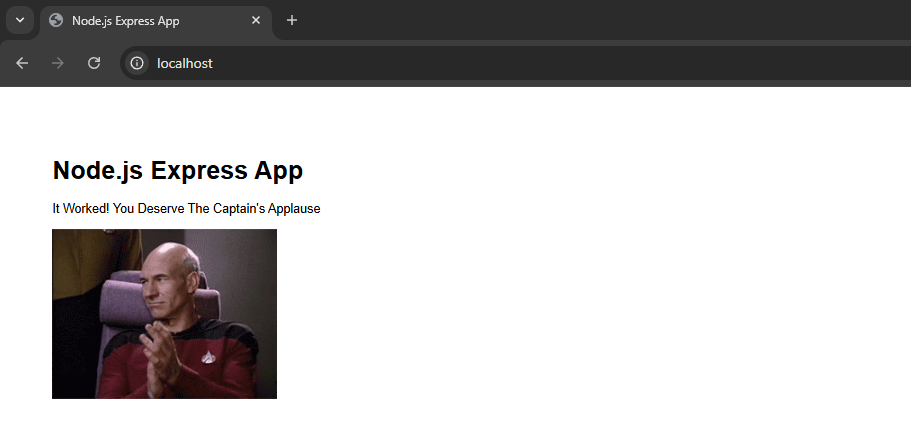
And just like that — it worked! My first Dockerised app running in a container I built myself.
Conclusion
I know this is pretty basic stuff in the grand scheme of things, but you have to start somewhere — and this felt like a solid first step.
This is just the beginning. Over the next few weeks, I plan to dive deeper and tackle more complex projects as I get to know Docker inside and out. I want to move beyond simple containerisation and explore real-world use cases — think multi-container applications, Docker Compose, networking, persistent storage, and eventually orchestration with tools like Kubernetes. There’s a lot to learn!